
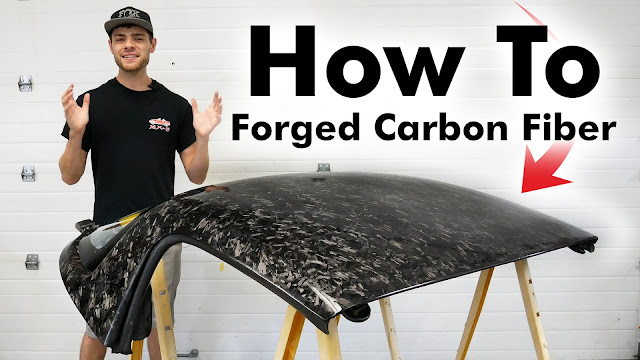
How To Forged Carbon Fiber Skin a Part | Chopped Carbon Skin Tutorial
Today I’ll show you the process I used to save, restore, and enhance my Mazda Miata's hardtop, by skinning it in real forged carbon fiber.
First, let's go over the materials I used. This will get you through the entire process of skinning a part in forged carbon fiber! This article contains Affiliate links for which I may be compensated.
MAS Epoxies LV Resin: https://bit.ly/3BY8q4C
MAS Epoxies Hardner: https://bit.ly/3QysY7Y
Venom Composites Chopped Carbon: https://amzn.to/3JM2IVx
Carbon Fiber Roller: https://amzn.to/3AaBF2K
Peel Ply: https://amzn.to/3SGLaOr
Sanding Disks: https://amzn.to/3QhDoZU
Sand Paper: https://amzn.to/3vXbIRY
Clear Coat: https://amzn.to/3BTZ9KX
Polish: https://amzn.to/3zKmDQ4
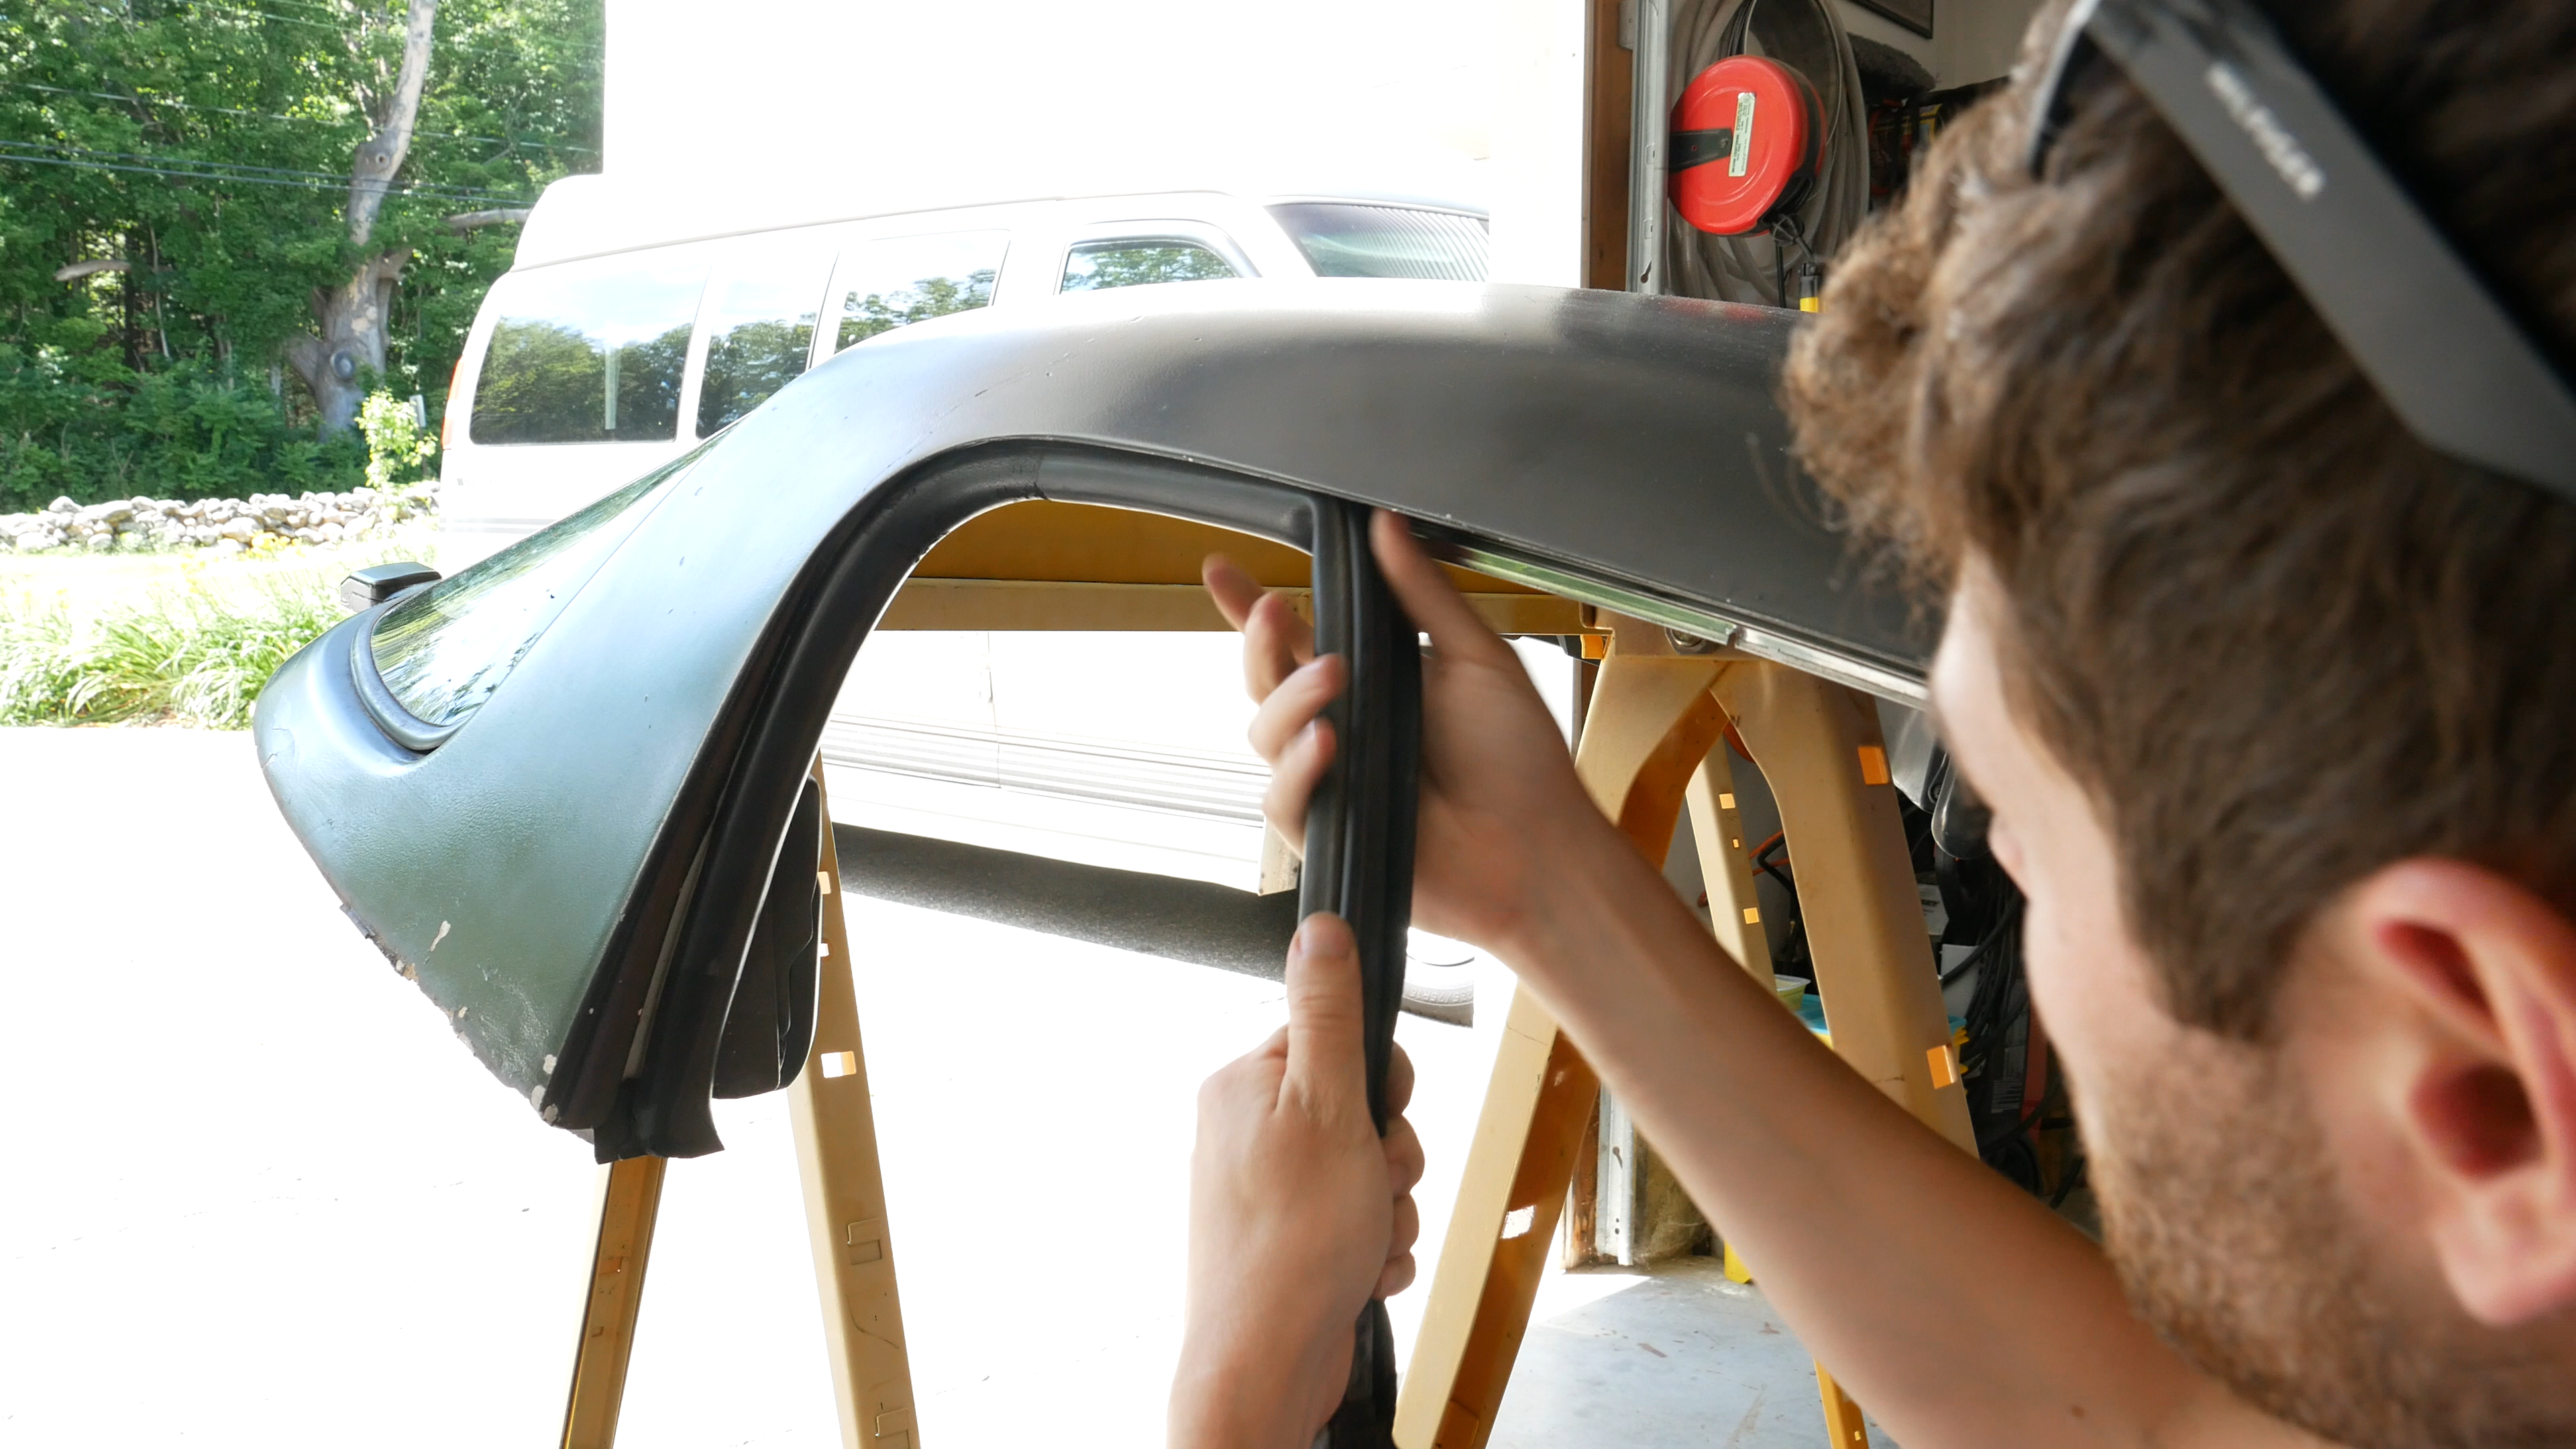
The first thing I did was remove all the trim from the top. You’ll want to do this with any part your skinning, so you don’t have to work around it. Once this was done, you can move on to the actual skinning process.
The first step to skinning a part in forged carbon fiber is preparing the surface. This means roughing it up, to give your resin, the stuff that holds your carbon together, something to bite into and hold on to, so it doesn’t de-laminate after all your hard work. To do this, I simply used an aggressive sanding disk on an electric sander to rough up the surface. Once the surface looks totally uniform and dull, you’ll know you’re in good shape to move on to the next step. If your surface is shiny, it probably is too smooth, and you should use a more aggressive sanding grit, or you need to sand more.

Since forged carbon is random orientation carbon fiber strands, your original surface may show through in small spots once skinned, as its hard to get 100% coverage. Because of this, I opted to paint my surface black to match the carbon, and make the small uncovered areas less visible. After painting, I scuffed the surface again, to give the resin something to hold onto.

Next it was time to thoroughly clean the surface. This will get grease and sanding dust off, and give your resin maximum adhesion. To do this, I blew the dust off with compressed air. Then, I used a microfiber rag with denatured alcohol to do a final clean. Depending on how much dust your part has, you may need to wipe it down multiple times. This cleaning process will be used every time I clean the top for the rest of this article, and it’s the same process I used before painting.
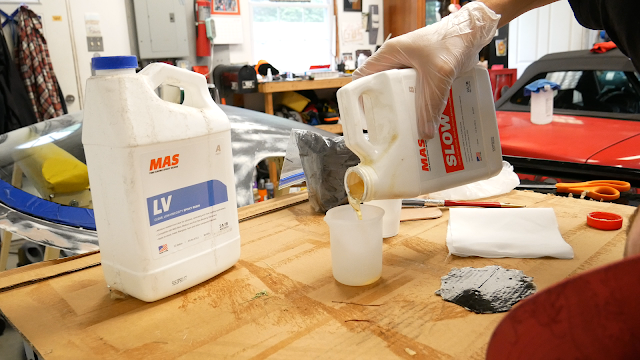
Now we could begin the process of laying up our carbon fiber. To start, mix up a batch of resin. Follow the instructions for the specific system you’re using. This one, MAS Epoxy LV resin, was easy, at a 2:1 ratio. Once thoroughly mixed, apply a fairly heavy coat of resin on the surface of your part. This will be what wets out the carbon fiber from the bottom.

Once resin is evenly spread over the surface, you can begin placing your chopped carbon. I did this while the carbon was dry, to prevent it being sticky and clumped up. Evenly spread your carbon over the surface, allow it to get saturated from below from the resin, and letting it stick to the surface. Once you have the whole area covered in chopped carbon you’ll need to wet out the carbon from the top. To do this, I used a paint brush and dabbed on quite a bit of resin. This will ensure your fabric is fully saturated, which is what you want. Once your fabric is uniformly wetted out, with no spots left dry, you’ll be in great shape.
The last thing that I like to do is lay down a “peel ply” fabric. This is a synthetic, tightly woven fabric that will give you a more uniform surface after a layup, and will help give you more even resin distribution. To use this, simply lay it over the fabric and evenly press it down. I ended up using a roller specifically designed for carbon and relieving air from composite parts, and it worked great.

Next, all you have to do is wait. I waited 24 hours for the resin to cure, and then removed the peel ply. This simply involves lifting an edge, and pulling back the fabric. As you can see, the surface is quite uniform, but there are places that could have used more resin. We’ll get to that shortly. But first, note that forged carbon fiber is difficult to get 100% uniform when compared to fabric, since you’ll have different thicknesses of carbon in different places, which makes it harder to work with.
Now starts the process of a LOT of sanding. And I mean a ton, so be ready for it. I used an aggressive sanding disk to flatten all the high spots on this top. Note that a respirator is critical, since resin and carbon dust are quite bad for your health. Don’t breathe this. Once relatively flat, I went ahead and cleaned the top again. Then I touched up any spots that were showing white with some black paint, to hide the imperfections.

Next up I applied another coat of resin, using the same process as before. At this point, the top looked good in the sun, but the resin was quite uneven due to the complex surface of the top, and the fact that the carbon itself underneath was still not perfectly flat. After this coat, it was back to sanding and flattening, to get the top looking nice and uniform. Again, this took a lot of time, but the final results will be worth it.

Since I didn’t want to sand down into the carbon too much, I ended up doing one last coat and sanding it down, to a super flat, very nice surface. Then, as a final touch, I carefully filled any remaining voids with a syringe filled with resin, and sanded that down. This will be the final surface I chose to clearcoat, so let’s get into that.
I once again thoroughly cleaned the surface, and then got my clear coat ready. I ended up using Rustoleum 2X coverage clearcoat, since it was advertised as UV resistant and able to adhere to plastic, which is basically what resin is. This is a hotly debated topic though, as this isn;t necessarily an automotive clear coat. Regardless of that, I used a sprayer handle on the can to make it easier to coat the top. I carefully sprayed the whole top, overlapping every stroke and putting on a fairly thick coat, while trying to avoid drips and runs.

Follow the instructions on the can for when to recoat. Mine was within 30 minutes, so that’s what I did. Notice that my paint did orange peel quite a bit, but we’ll fix that later. My main concern right now was building clearcoat depth. I ended up doing 4 fairly heavy coats.
Then I let the top sit for about a week to allow the clear coat to fully cure. Once it did, it was time to address the orange peel, and make the top look 100% perfect. To do this, we’ll wetsand and polish the top. I started with 320 grit paper, and used plenty of water and dishsoap to lubricate it. This allowed me to knock down the high spots that were orange peeled, and flatten out the surface. From here, I ended up stepping up to 600, then 1000, then 1500. In between grits, I dried the surface to check for areas that I wanted to sand flatter. It is CRITICAL that you are careful to not sand through the clear coat, otherwise you’ll have to recoat.

Once I was happy with the surface, it was time to use a buffing compound to flatten it down and make it look perfect. I started with Meguires heavy cut compound, and used a foam buffing wheel kit that I bought ages ago from eBay. This was looking great at this point. Then, I used a lighter cut compound to really finish it off. After using a microfiber to buff off the excess compound, I was left with an INCREDIBLE finish, that I was super happy with. I’ll show you some glamor shots of that now!
The final things to do were to remove the masking, and reinstall the trim. Once that was all set, the top was ready to go on!

If you're interested, I have a full video on this process to accompany this article. Simply click on the picture below!


Comments
Post a Comment